Adding Resource Requirements to Services
After creating a resource, you can add the resource as a requirement for a service.
To add a resource requirement to a service, open the Services app and select the service.
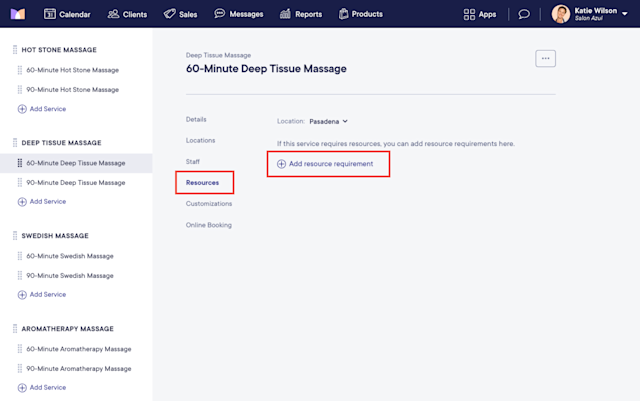
Select the Resources tab. Select Add resource requirement.
Select a resource group and specify which resources from the group can be used to fulfill this resource requirement.
All resources: Any resource from the selected group can be used to fulfill this resource requirement. If you select this option, keep in mind that any resources added to this resource group in the future will also fulfill this resource requirement.
Specific resources: Select which resource(s) can be used to fulfill this resource requirement. If you select two resources, either resource can fulfill this requirement. To require both resources, you will need to separate them into two different resource groups and add them both as separate requirements.
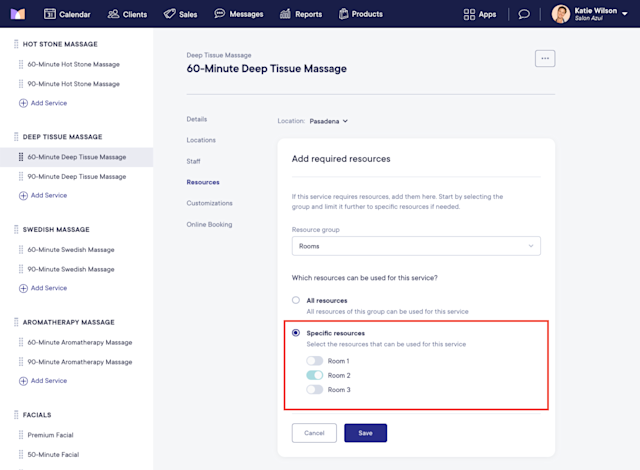
Select Save to add the resource requirement to the service. To add another resource requirement, select Add resource requirement.
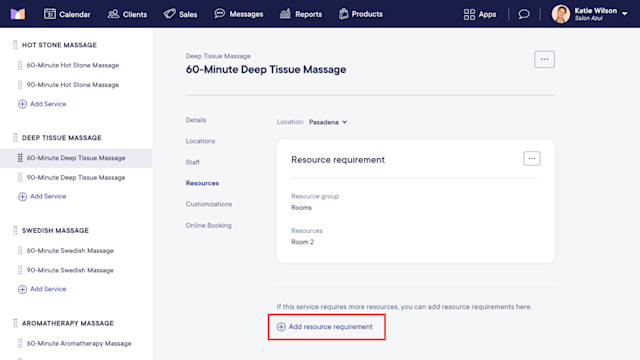
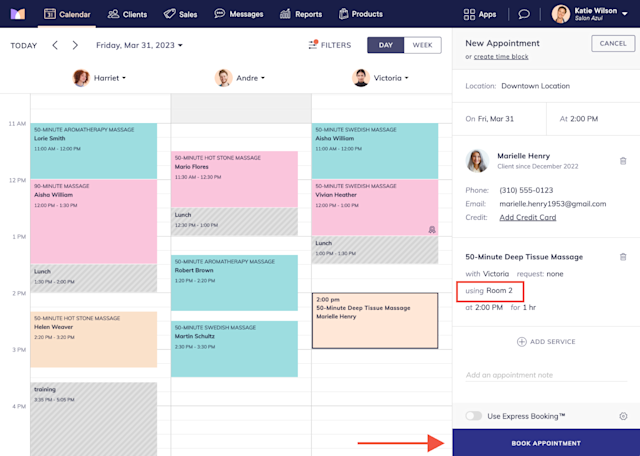
Once a resource requirement is added to a service, the system will automatically check during the booking process to see if the resource requirement can be fulfilled.
If the resource is available, it will be automatically assigned.
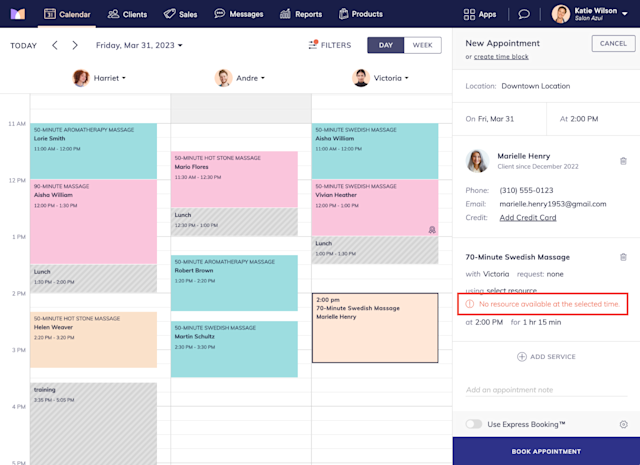
If the resource is unavailable, a message will be displayed in the appointment details indicating the resource is unavailable. In online booking, clients cannot book the service if the resource is unavailable.

Can't find what you're looking for?
with us to talk to a real person and get your questions answered, or browse our on-demand videos.