Create an Account Balance Membership Plan
This article covers how to create an account balance membership plan. To create a service-based membership plan, follow these steps.
Account balance memberships allow clients to add money to their client account balance every billing period instead of receiving redeemable membership services.
Clients can use the money in their account balance to pay for any sales, including any services or products.
Client account balances never expire and can be used at any of your locations, giving clients the flexibility to use their account balance at their convenience.
To learn more about how you can set up and use account balance memberships, visit our blog.
To create membership plans, you must be an Admin user, or you must have the Can manage membership plans permission enabled in Staff Member settings.
Link copiedCreate an account balance membership planLink copied
To create an account balance membership plan, client account balances must be enabled by opening the Settings app and going to Business Setup > Advanced Settings > Client Account Balances.
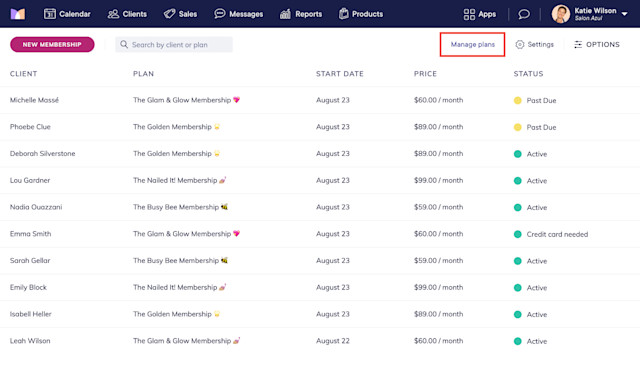
To create an account balance membership plan, open the Memberships app and select Manage plans.
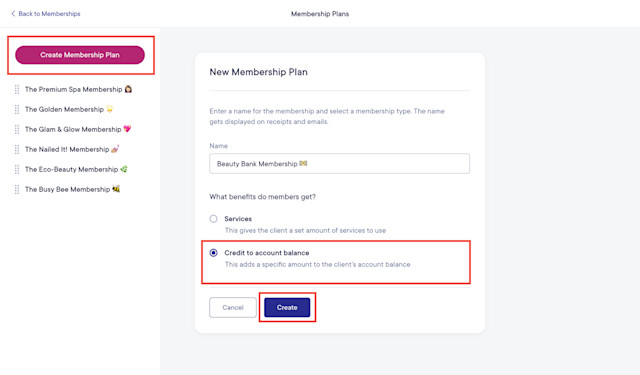
Select Create Membership Plan and enter a name for the membership. This name will be displayed in emails, receipts, and the client portal.
Select Credit to account balance and select Create.
Link copiedDetails tabLink copied
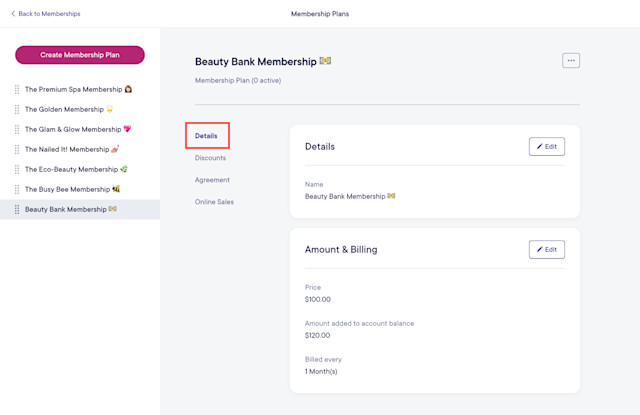
In the Details tab, update the billing details for the membership.
Set the Price to the amount the client will pay every billing period. Set the Amount added to account balance to the amount that will be added to the client’s account balance every billing period. For example, you can charge clients $100, but add $120 to their account balance.
Memberships can be billed in day, week, or month intervals. For example, use 1 Month for monthly memberships, and 12 Months for annual memberships. The minimum billing interval is every 7 days.
Account balance memberships do not charge service tax when the membership is billed because client account balances can be used to pay for any sales, not just service sales.
Link copiedDiscounts tabLink copied
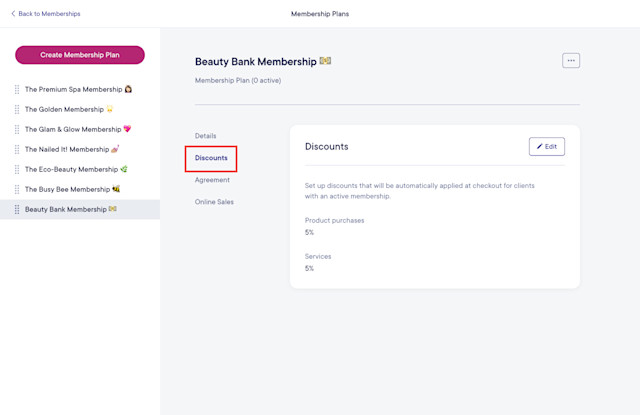
In the Discounts tab, specify any product or service discounts included in the membership. These discounts will be automatically applied to all products and services purchased by clients with active memberships. You can manually remove these discounts during checkout if they do not apply to certain products or services.
If you’d like to choose which products or services are eligible for a discount, you can create an offer instead and limit it to clients with this membership.
Link copiedAgreement tabLink copied
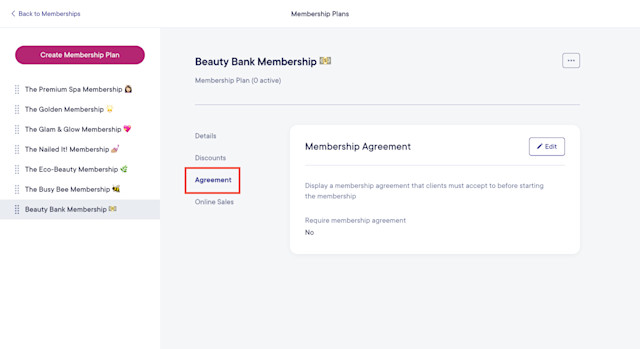
In the Agreement tab, specify whether clients should be required to sign an agreement when starting the membership in person and online. Signed agreements can help protect your business and set clear expectations for clients.
When creating your agreement, things to keep in mind include:
If you make changes to the agreement later, agreements that have already been signed will not be affected.
The current membership price and billing frequency will be automatically included in the agreement. If you change your membership price or billing frequency, agreements that have already been signed will not be affected.
If you switch a client’s membership to the current version of the plan, or if you change the price/discount on a client’s membership, the client’s signed agreement will not be affected.
Learn more about membership agreements.
Link copiedOnline Sales tabLink copied
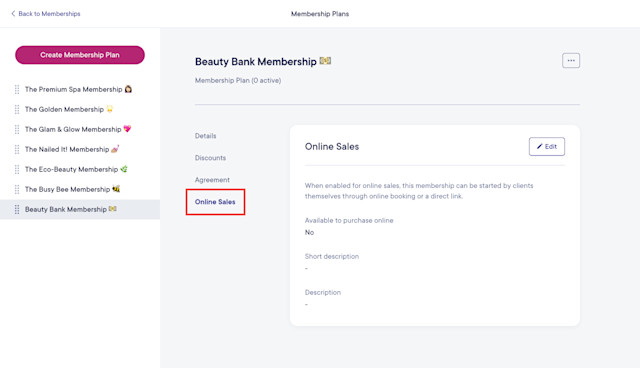
In the Online Sales tab, specify whether the membership should be available to purchase online. Learn more about selling memberships online.
Once you’ve created the membership plan, learn how to start a new membership for a client or sell memberships online.
Once a client has an active account balance membership, they can add money to their account balance every billing period and use the funds during checkout.
Link copiedReordering membership plansLink copied
To reorder your membership plans, simply drag and drop the membership plan name. This will control the order in which the membership plans are listed when selling memberships in person and online.

Can't find what you're looking for?
with us to talk to a real person and get your questions answered, or browse our on-demand videos.