Setting Up the WaiverForever Integration
To set up the WaiverForever integration, select Account Settings from your profile menu in WaiverForever.

Click the Integrations tab and click Generate New Application Key.

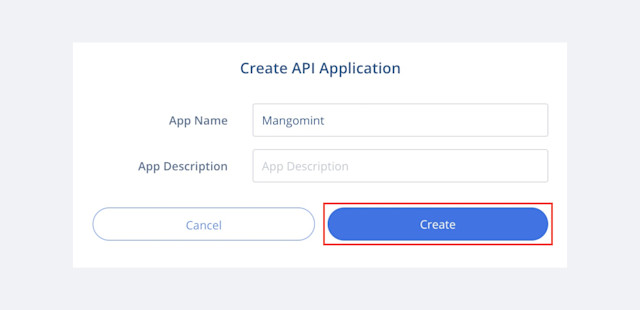
In the popup window, enter Mangomint as the App Name. You can leave the App Description blank. Click Create.

Copy the API Key.

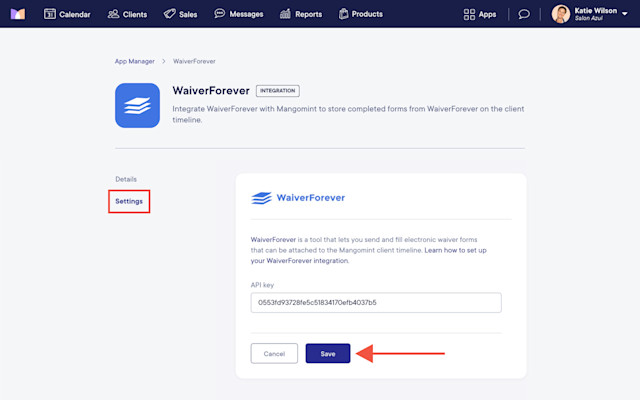
In Mangomint, go to Apps > Manage apps > WaiverForever > Settings and select Edit.
Paste your WaiverForever API key and select Save to complete the integration.

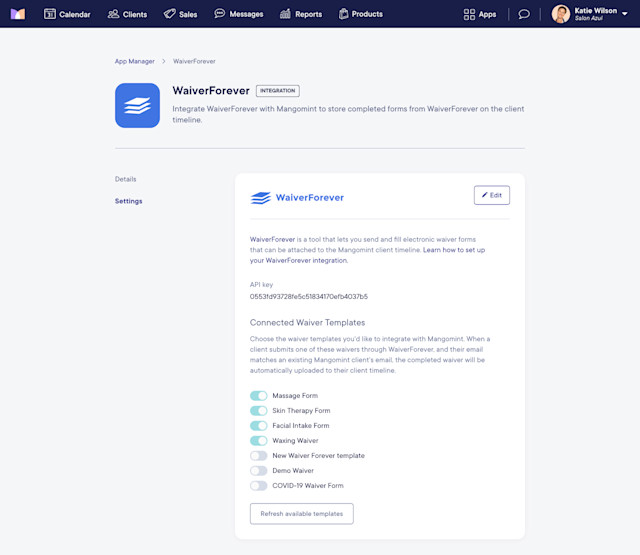
In the Connected Waiver Templates section, enable the waivers that should be automatically uploaded to client timelines when completed.


Can't find what you're looking for?
with us to talk to a real person and get your questions answered, or browse our on-demand videos.